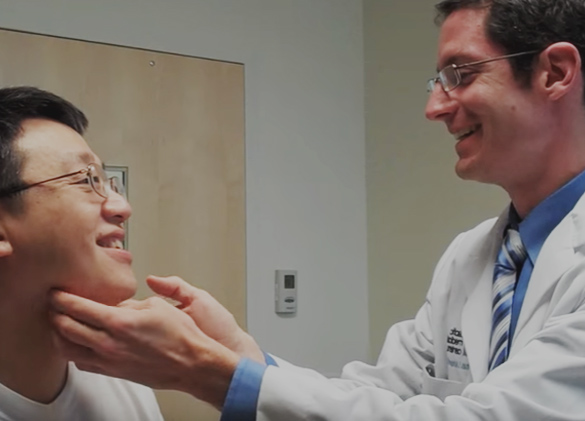
Check out Dr. Lamperti's latest SurgeonCam video in which he shows you how a chin implant can be used to create a stronger jawline.
I've talked before about the various ways one can go about creating chin augmentation with either chin implantation or sliding genioplasty surgery. My latest SurgeonCam video shows you how to place a silicone chin implant using an small, external incision placed under the chin.
Video Transcript:
"This is Seattle facial plastic surgeon, Dr. Thomas Lamperti. Today I'm going to show you how to insert a silicone chin implant using an external, sub-mental incision. To start we'll make the skin incision under the chin in the sub-mental area of the neck. I normally place the incision for chin implants just a little bit behind the existing skin crease. This is done so that as the skin gets projected forward after implant placement the scar then lays in the region of the existing crease. You can see how I try to use as small of an incision as possible. I'm now going to carefully dissect through the underlying tissues of the chin to then encounter the chin bone.
Once we get to the chin bone I'll leave a layer of periosteum over the bone in the midline to buffer it from any pressure that the overlying implant can create. I'm now using a Freer elevator to gently elevate this periosteum off of the jaw bone toward either side of the mandible. The goal is to create a precisely-sized pocket for the chin implant to fit into. This ensures that the implant won't be able to migrate as it is snugly situated in this pocket. I find this technique to be very effective in preventing post-operative implant shifting after surgery. We'll now move onto dissecting the pocket on the left side of the bone, lifting the skin tissue off of the mandible as we go along.
Now I'm going to use an implant sizer to test out my pocket dissection. The sizer is blue as you can see whereas the actual implant that we'll ultimate place in the patient is clear. Once I'm happy with the fit of the sizer I'll remove it and then obtain the actual implant that we'll be inserting. Here I'm checking the projection that this size implant sizer is giving us. We're using a large anatomic chin implant in this patient. I'm happy with the aesthetic result the implant size gives us so we'll go ahead and open the final implant that we can then insert permanently. You can see the clear nature of the implant although it is the same exact size and shape of the sizer we had been using. It's hard to see this in the video, but there's also a vertical line in the midline of the implant to help ensure proper symmetric placement of the implant.
Now that the implant is situated into the chin pocket I'm checking to make sure that the tips of the implant are laying properly against the jaw bone. Once I'm happy with the placement of the implant I then suture the implant to the overlying skin flap using a dissolvable suture. This helps further maintain proper implant position as the pocket heals in further.
Now I'll close the incision using several layers of sutures. The sutures placed under the skin are dissolvable. In the interest of time, I've edited out some of the suturing of the outer skin layer. But you can see how I try to create a slight ridge to the skin during closure. This skin eversion then flattens out as the scar heals over the subsequent several months. I hope you four this video helpful. Please check out my YouTube channel to learn more about facial plastic surgery procedures."


