
Dr. Lamperti narrates an intra-operative SurgeonCam video in which he shows how to fix excessively droopy, overhanging upper eyelid skin using blepharoplasty surgery.
I recently uploaded a new SurgeonCam video to my Youtube channel. In this video I discuss all the steps of upper eyelid blepharoplasty surgery including incision line marking, local anesthesia injection, skin excision and incision line suturing. Check out the video below:
Video Transcript:
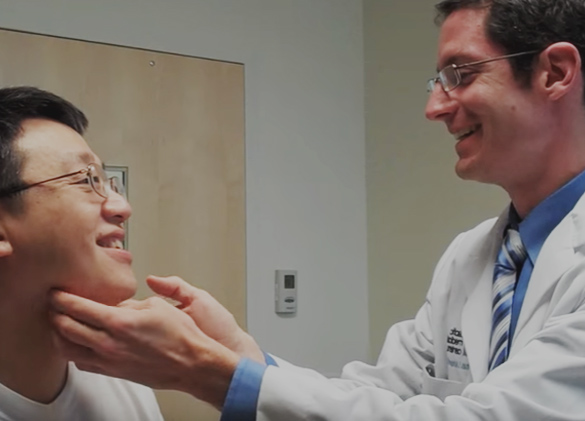
"This is Seattle facial plastic surgeon, Dr. Thomas Lamperti. Today I'm going to show you how to fix drooping upper eyelids using a conservative, skin-excision only blepharoplasty technique.
Before we begin with the surgical procedure itself let’s take a look at our patient. You can see that the patient is an older gentleman. He was referred to me by his optometrist to see if I could help improve the upper visual field blockage problems that he was having due to his redundant eyelid skin. You can see how his right upper eyelid is worse than his left. We’ll just cut to the chase now and show our 3 month after result. You can see how the patient now has much improved upper eyelid show. At the same time note how we haven’t feminized the patient’s appearance as that’s certainly something I want to avoid in male patients of any age.
Ok, now let’s move on to the surgery itself. The first step is to make the skin incision markings. If the upper eyelid crease is at an appropriate height above the eyelid margin I start by outlining this crease. The crease is usually about 8 to 10 millimeters above the eyelid margin. It’s important to properly carry the incision out laterally as this is typically where the skin excess is the most severe. We’ll do this step right now.
Now I’ll use forceps to gently grasp the excess skin in order to mark the upper limb of the planned incision line. I start over the mid-pupillary line and then move to the area where I want to maximally treat the lateral hooding. Next, I simply connect the dots, tapering the incision lines to each end point of the lower incision limb.
Now that I’ve marked the left eye I’ll now move over to repeat the process on the right eye. You may notice that I’m not just simply measuring how much intervening skin I’m removing on the left and doing the identical pattern on the right. I find that by repeating the skin pinching method more symmetrical results are possible as this better takes into account patients’ pre-existing asymmetries. You can also see how I gently retract the patient’s eyebrow upward as I mark to help to temporarily tighten the skin as I mark the skin.
You may also notice that when grasping the excess lid skin I’m taking enough skin such that I just barely elevate the eyelid margin. Of course, I always err on removing a bit too little skin rather than too much as we can always remove a minor amount of excess skin in the office down the road if needed.
The next step is to inject the local numbing medication. We’ll speed up the video for this part. You can see that we’re using 1% lidocaine with epinephrine. I do this step both with patients asleep under deeper anesthesia, like this patient, and with patients having the surgery awake in my office procedure room. This patient opted to have surgery under deeper anesthesia, but it’s actually very common to perform this exact upper eyelid surgery awake. Beside numbing the skin the other benefit of the injection is the epinephrine, or adrenaline, component as this acts to shrink down blood vessels which helps make the surgical field less oozy. Another benefit of the injection is that it hydro-dissects the eyelid skin we want to remove away from the underlying muscle which we won’t be removing.
Ok, after numbing both eyelids we’ll go back to the left eyelid and begin the actual surgery. I have my surgical assistant help with providing skin retraction. I’ll first make the incisions with a scalpel. Then, I use scissor dissection to carefully remove the excess skin from the underlying orbicularis oculi, or eyelid muscle. During this dissection I’ll use electrical cautery to seal up any blood oozing as well. I’m now using the scissors to carefully dissect the skin away from the muscle. You can see how the previously injected numbing medication has already helped to accentuate this plane.
Once again you can see the importance of skin counter-retraction. We’ll then set aside the removed skin and continue drying any oozing blood. I also find that applying cautery along the lower skin margin helps to sharpen and tighten the pre-tarsal eyelid skin just above the lash line.
The last step is obviously to close the wound with sutures. I start by placing a few interrupted 6-0 vicryl sutures to help approximate the wound edges and to provide some extra support to the subsequent running suture. This small vicryl suture is dissolvable but I usually trim out any remaining knots myself a few weeks after surgery. Next, I’ll continue the wound closure using a 6-0 fast gut suture. I’ll also use a 6-0 prolene suture instead. The fast gut suture normally dissolves on its own whereas the prolene must be removed about 1 week after surgery.
This eyelid suture line normally heals quite well. Over the main part of the eye itself it obviously hides in the pre-existing crease. Even laterally the way I design the incision line it normally hides very nicely in the crows foot line area.
Now that I’ve closed the left eyelid incision we’ll now repeat the entire process on the right eyelid. We’ll start with the excision of the excess skin as we previously marked. Some patients ask me whether I’d recommend removing any underlying eyelid muscle or fat during surgery. I don’t typically remove any of the underlying muscle, even in purely cosmetic cases, as I’m trying to avoid an overly skeletonized postoperative look. Similarly, I infrequently remove any upper eyelid fat as well. In patients with very prominent medial fat pads I do address that fat pocket by conservatively removing excess fat from that area.
As I see it most people didn’t have overly sculpted upper eyelids when they were in their teens or twenties and I don’t see any reason to aim toward that goal now. In fact a large trend when it comes to rejuvenating the face involves replacing lost facial volume. This may involve facial fat grafting or fat transfer or the use of dermal fillers such as restylane, juvederm or radiesse.
I find that by leaving the underlying orbicularis oculi muscle alone during blepharoplasty surgery I’m able to better maintain, or even enhance, a natural, full upper eyelid. There can be an improved eyelid contour related to the fact that with closure of the blepharoplasty incision I’m able to plicate or fold the muscle on itself. In essence we’re using the patient’s own muscle as a filler.
Now we’ll once again start the incision closure with the 6-0 vicryl suture. We’ll skip ahead now to the 6-0 fast gut suture placement. And now we’ll finish up with the last bit of suturing. Lastly we’ll apply some ointment to the suture line before having the anesthesiologist wake up the patient and bringing him to the recovery room. Thanks for watching. If you enjoyed this video please check out the other surgery videos on my Youtube channel to learn more about facial plastic surgery."
Related Seattle Facial Plastic Surgery Blog Posts:
Male blepharoplasty and fat grafting photos